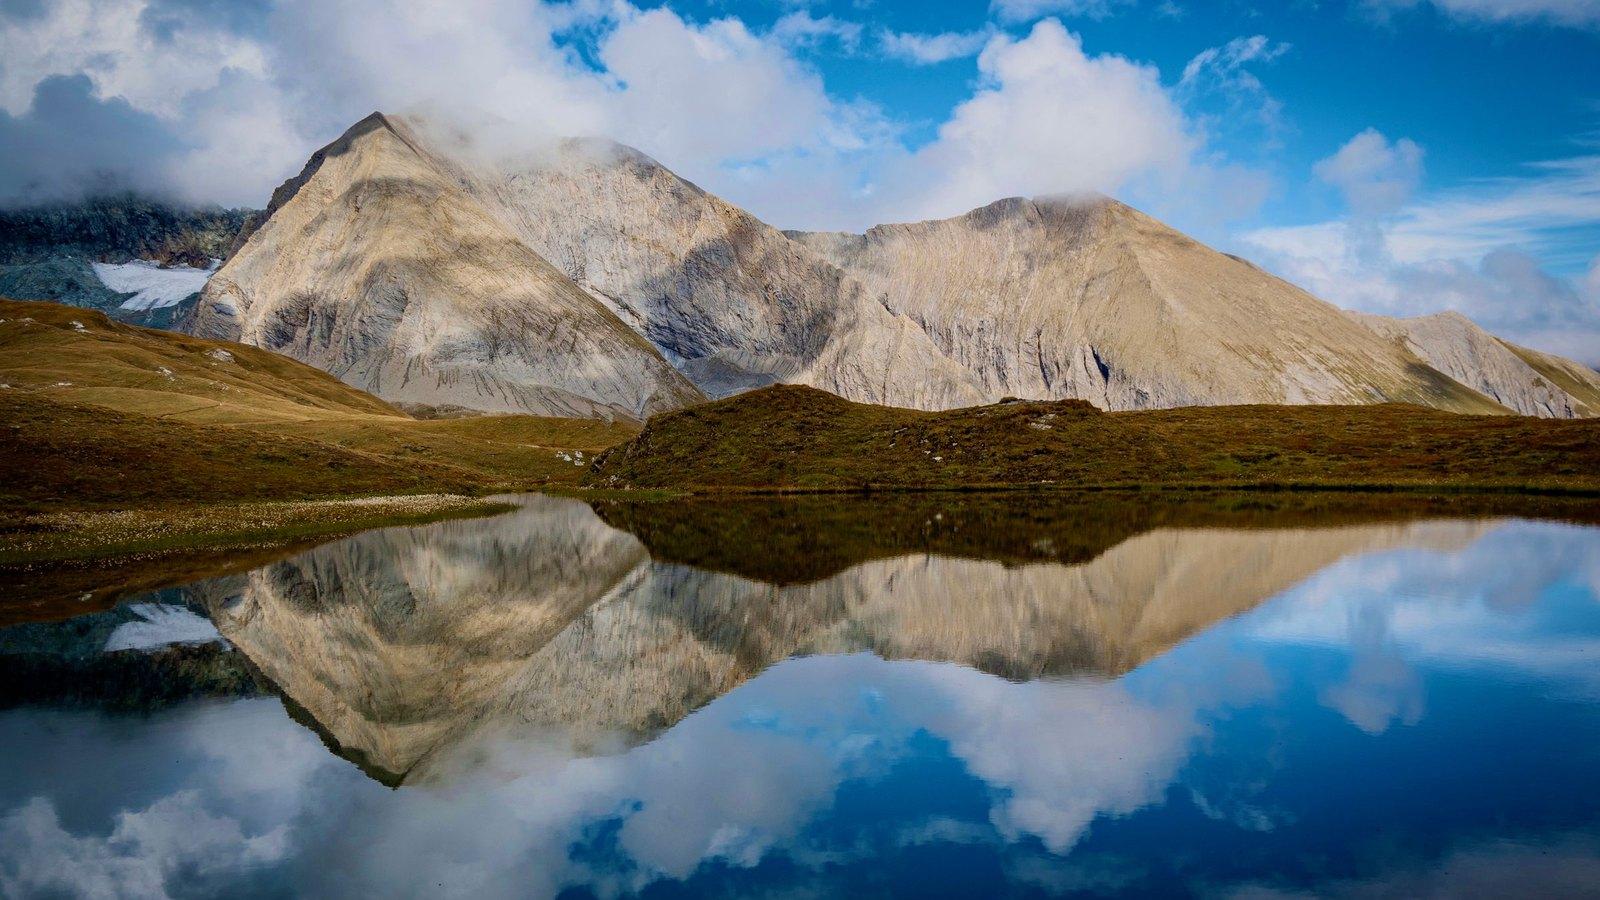
Cover photo: Harald Pippert / Pexels (stock photograph).
To prepare a photo for a website, keep the original, crop only if the layout needs a different shape, resize a copy for its intended display size, and adjust compression while checking the result. The aim is a smaller file that still shows the details people need to see.
You can do this with an image editor or a browser tool such as Squoosh. You do not need to start by choosing the smallest file the tool can produce. Start with where the image will appear and what someone needs to see in it.
Understand the 3 changes you can make
Cropping removes part of the picture. Use it when a wide header needs a different shape from the original photo. Check that the crop keeps the subject and any useful context.
Resizing changes the number of pixels, the small points that make up the picture. A 2400-pixel-wide photo reduced to 1600 pixels has fewer pixels to store. Enlarging a small image does not restore detail that was never present.
Compression changes how the image data is stored. Some methods preserve the image data without loss; others discard detail to reduce the file size. A lossy export, such as a JPEG saved at a lower quality setting, needs a visual check. File size alone cannot tell you whether the result is suitable.
These changes solve different problems. If the subject is in the wrong place, lowering the quality setting will not improve the crop. If the image is much larger than its display needs, resizing may be more useful than pushing compression to an extreme.
Keep an original and work on a copy
Save the starting file in a separate folder before editing. Use a descriptive filename for the export, such as mountain-lake-1600.webp. Keeping the original gives you a better starting point if you later need another crop or a larger version.
Avoid repeatedly opening a lossy export, editing it, and saving it again at reduced quality. Make the next version from the best available source instead. A file called final-final-small.jpg tells you little about what changed or which version is appropriate.
The photograph used here is licensed photography by Harald Pippert on Pexels. The 2400 × 1600 JPEG download is the starting file for the examples below; it is not the photographer's camera original.
Choose dimensions for the actual layout
Find out how large the image needs to appear. A small thumbnail and a wide article photograph have different needs. If you are adding an image to an existing website, check whether its image field or authoring guide already specifies dimensions.
For the worked example below, the exported photo is 1600 pixels wide. That is a sample size for comparing files, not a rule for every website. A photo used as both a thumbnail and an enlarged view may need different versions. Some websites generate those versions for you.
MDN's image guidance explains why matching image dimensions to the display matters. Uploading a very large file does not guarantee that a site serves a suitable smaller version automatically. That depends on the website's implementation.
Keep the width and height proportional unless you intend to crop. Forcing a 3:2 photo into a 16:9 shape by stretching it changes the proportions of the subject. Crop to the new shape instead, then resize the cropped copy.
Try the process in Squoosh
Squoosh provides a preview and export controls so you can inspect the image as you change it. Its open-source project documentation describes image processing in the browser. Use photographs you are permitted to edit, and check a tool's data handling before using it with private material.
- Open Squoosh and choose your photo. Keep the starting file elsewhere.
- Enable resizing and enter the intended width. Keep the aspect ratio locked so the height follows the width.
- Choose an export format. For a photograph, compare a JPEG option with WebP when the destination accepts it.
- Adjust the quality while comparing the preview with the starting image. Inspect at a useful zoom level rather than judging only a small thumbnail.
- Download the version you intend to use. Give it a filename that identifies the subject and export size.
Quality numbers belong to the encoder, the part of the tool that creates that file format. A quality setting of 80 in one format is not a promise of the same visual result as 80 in another format. Compare the actual files.
A measured example with the same photograph
These example exports were prepared locally with Sharp, an image-processing library, on November 18, 2026. The Squoosh steps above describe an interactive way to make the same kinds of decisions; they did not produce the measured files in this table.
| Version | Dimensions | Approximate file size | Preparation |
|---|---|---|---|
| Starting Pexels download | 2400 × 1600 | 485 kB | Downloaded JPEG |
| Resized JPEG | 1600 × 1067 | 250 kB | JPEG quality 82 |
| Resized WebP | 1600 × 1067 | 167 kB | WebP quality 80 |
| Heavily compressed JPEG | 1600 × 1067 | 53 kB | JPEG quality 18 |
Sizes are rounded, with 1 kB equal to 1000 bytes. These results describe this photograph and these export settings. Another image or encoder will produce different results. They do not establish a universal file-size target or a measured change in website loading speed.
The smallest export keeps the overall scene recognizable, but the detail comparison below shows a cost. Areas of sky become blocky, and fine mountain textures lose clarity. Whether that loss matters depends on how the image will be used, so inspect the details relevant to your own photo.
Pick a format that fits the image and destination
JPEG is a common choice for photographs. WebP also supports photographs and often provides a useful file-size comparison. Check which formats the website or publishing tool accepts before preparing a whole collection.
An image with text, an interface screenshot, or a transparent logo has different requirements. Fine lettering and sharp edges can show compression damage more readily than some photographic areas. PNG is useful when those details or lossless storage matter. A vector drawing stores shapes instead of a grid of pixels. For a logo made that way, SVG (Scalable Vector Graphics) can preserve those shapes at different sizes when the destination supports it.
MDN's image format guide explains these format differences. Converting a small raster logo into an SVG container does not recreate it as a true vector drawing, and changing a filename's extension does not convert its format.
Inspect the details that carry meaning
For a landscape photograph, inspect fine textures, smooth sky, and the edge between mountains and clouds. For a product photo, inspect the details someone needs to identify the item. For a screenshot, inspect the smallest meaningful text.
Look at the export near its intended display size, then enlarge an important area to find damage you might otherwise miss. If a page uses both a thumbnail and an enlarged view, check both. A file that works as a small preview may be unsuitable for reading a label in the enlarged view.
Also check the crop on a narrow screen. A website may crop an image differently in its mobile layout. Keep important faces, labels, and objects away from edges that the layout might remove.
Add a useful description and keep the credit
A filename such as mountain-lake-1600.webp helps you manage the asset. Alternative text serves a different purpose: it describes the image's relevant information to someone who cannot see it.
For the full photograph here, a useful description is “Rocky mountains and clouds reflected in a lake beneath a blue sky.” For the compression comparison, the useful information is the difference between the two crops. Those images need different descriptions because they do different jobs.
The W3C's guidance on informative images explains how the image's purpose and context shape its text alternative. Keep any required photographer credit or license information alongside the asset record. A photo being available online does not automatically give permission to reuse it.
Check the exported file before replacing anything
Open the downloaded export and confirm its dimensions and format. Check that the important details remain clear, the crop still makes sense, and the website accepts the file. Keep the original until the image has been checked in its intended location.
For a first attempt, work with one photograph and compare two exports. Choose the smaller version only after confirming that it still shows what the reader needs to see.